You know what they say: hope for the best, but prepare for the worst.
Sprinkler winterization is one of those things we tend not to think about until it’s too late.
The truth is, without proper care, you run the risk of damaging your sprinkler system beyond repair during the freezing winter months.
Today, we’ll be looking at how, when, and why to winterize your sprinkler system, so you can be well prepared as the temperature drops.
Why We Winterize
Winterizing your sprinklers comes down to some fairly basic science. If you fail to blow out and winterize your pipe systems before the season’s first freeze, the water inside is going to freeze.
Frozen water in your pipes is less than ideal.
As the water solidifies and expands, the rigid, frozen pipes containing it can crack, warp, and erode to various degrees. Sprinkler pipes, typically made from plastic, are especially prone to this kind of breakage.
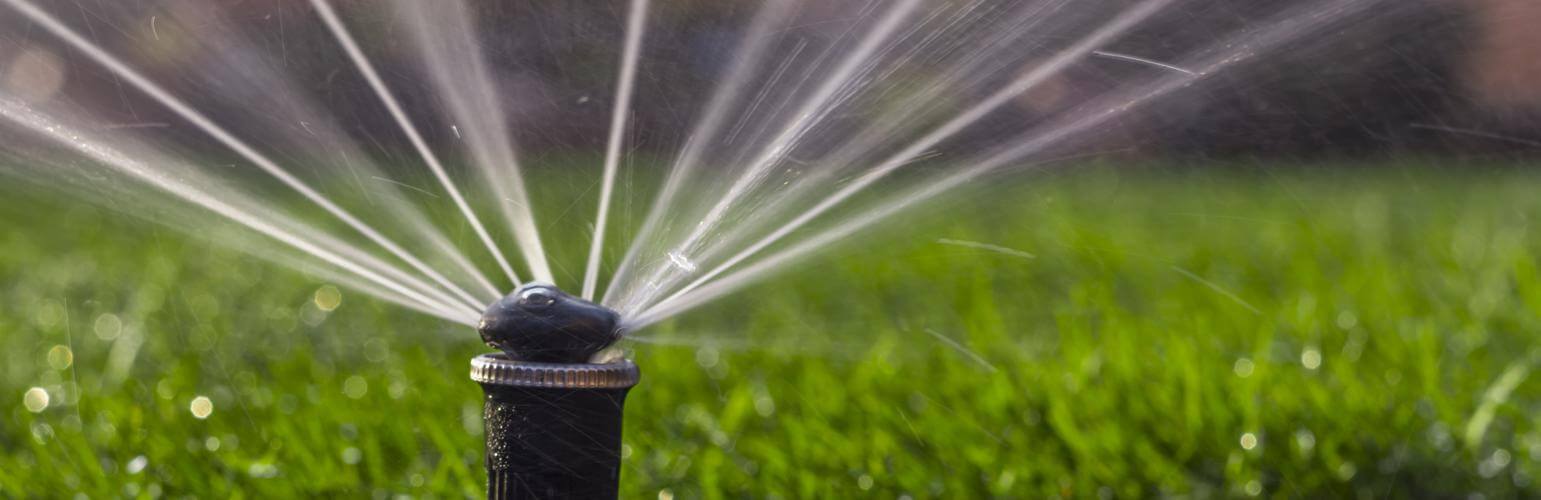
Additionally, the sprinkler heads are prone to popping off or bursting, as well.
When To Do It
A big part of effective winterizing is in knowing when it’s time to do it.
As the thermometer drops, start making preparations to drain or blow out your lines ahead of the first hard freeze. This is when the outside temperature drops below zero for the first time.
Pay attention to the drop in temperature and changing weather patterns. You’ll want to winterize your sprinkler system about a week before the hard freeze. While this can be hard to pinpoint to the day, a few days off won’t hurt, and local weather stations tend to be quite informative in this regard.
How To Winterize Your Sprinklers
So, you’ve decided on sprinkler winterization.
Good – you’ve made the right choice. You’ve watched the weather, waited for the right time, and the big day’s finally arrived.
But where to start?
You’re going to start by turning off the main water supply. This valve is typically found near your water meter, which is convenient.
If the sprinkler system works with a manual drain valve, make sure to shut off the valves on the backflow preventer. This device prevents pressurized water from mixing with and contaminating the water supply. The shutoff valves for this device a generally located on the separate pipes which feed into the devices.
Next, you’ll need to find out if your sprinkler system uses an automatic or manual drain valve. For spring-loaded automatic valves, locate the solenoid (a PVC cap with wires coming out of it) and loosen it by hand to let airflow in.
In the case of a manual valve, turn off the sprinkler’s main line to depressurize the system, then open one of the system’s control valves. Lastly, open each manual drain valve in the system, slowly, and allow them to drain before closing them all, later.
Once you’ve drained your pipes, make sure there’s no water remaining by loosening the boiler drainage valve or stop and waste valve.
As a few last considerations, find out if your valves or caps need to be stored indoors. It’s also recommended that you insulate above-ground pipes. Lastly, shut off any automatic timers for the winter.
Handle Your Sprinkler Winterization This Year
The best way to ensure the longevity of your sprinkler system is to make sure it’s flushed out and empty ahead of the first deep freeze.
Hopefully, with a little guidance from us, you’ll be more than prepared to tackle the upcoming cold months.
Interested in learning more about maintaining your lawn, throughout the year? Get in touch with us today, for more on our fantastic landscaping services.